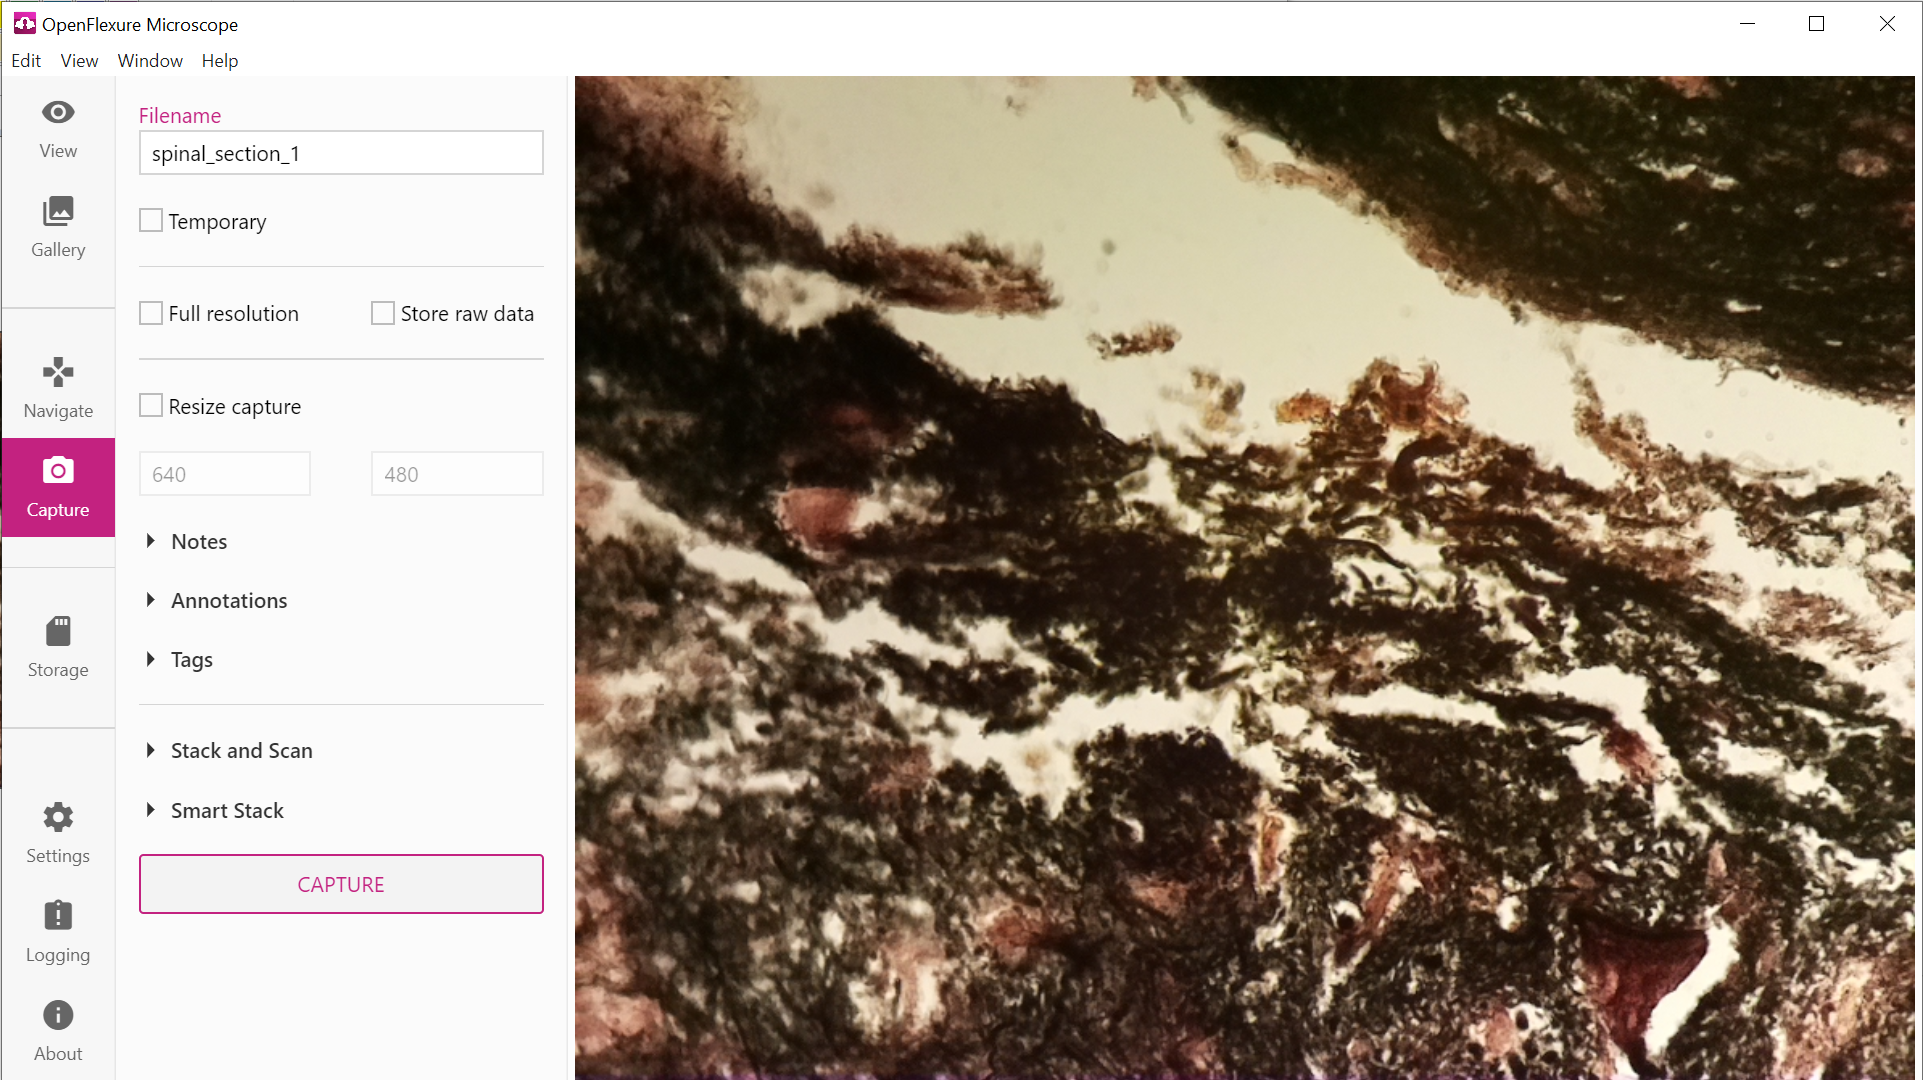
Capture pane
The capture pane allows images to be acquired through the interface. By default, a single image is captured to the microscope’s internal SD card, and can be downloaded from the gallery. Various settings are available to control the resolution of the image captured: the “full resolution” checkbox will save the image at native resolution, and the “store raw data” checkbox saves raw pixel data as an EXIF annotation.
Due to the underlying picamera library, images are always saved as JPEG files, and raw data is simply appended to the file for later extraction. If an image is saved with raw data, the JPEG image is still the processed, compressed version; an external tool must be used to extract and process the raw Bayer data.
It is also possible to acquire a grid of images for stitching together into a mosaic, by expanding the “Stack and Scan” section and enabling the “Scan capture” checkbox. Scans are 3D by default (i.e. a mosaic of images in X and Y, with a Z stack at each position) but 2D or linear scans can be performed by setting the number of steps in the unused axes to 1. This allows XY mosaics or Z stacks to be performed.
When scanning is enabled, the “capture” button is replaced by a “start scan” button, which will start the scan and display a progress indicator until scanning has finished.
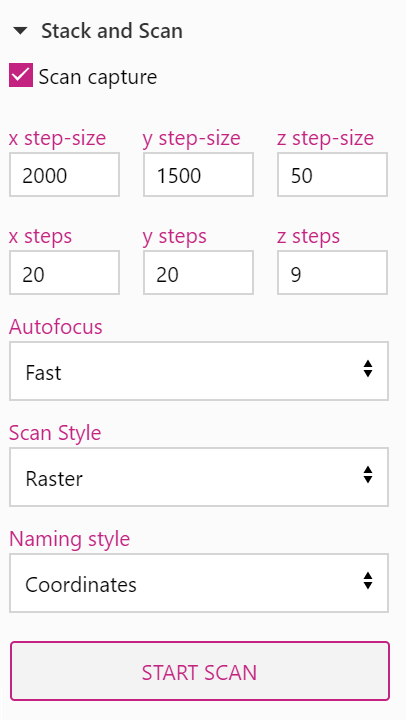
The step sizes (in motor steps) for each axis specify the number of motor steps to move between images, then the “steps” fields specify the number of images to acquire along each axis. If “steps” is set to 1 for any axis, no scanning happens along that axis.
The scan routine will move through XY coordinates, and at each XY position will optionally run an autofocus routine, then acquire either a single image or a Z stack depending on the value of “z steps”. The autofocus options correspond to those available in the “move” pane, allowing “fast” autofocus, or conventional autofocus with coarse, medium, or fine steps to be used. Selecting “none” disables autofocus. The vast majority of the time, “fast” autofocus is both quicker and more accurate than the other methods.
Various scan patterns are available for XY scanning. Raster scanning is the default, which scans columns (i.e. from lowest to highest Y coordinate) and works from low to high X coordinates as the “slow” scan axis. Snake scanning reverses every other column, such that there is a smaller distance from the end of one column to the beginning of the next. This can be helpful if the sample is not perfectly flat, as it avoids losing focus between columns. Finally, “spiral” scanning starts by taking an image at the current position, then works outwards in concentric squares. Spiral scans use the “x steps” value to set the number of rings, and ignore the “y steps” value.
Images acquired during the scan will be saved to a folder on the Raspberry Pi. They can be named according to their coordinates in the scan (default) or numbered sequentially (in case the latter is easier to process).
To retrieve images acquired during a scan, or captured individually, you can use the Gallery pane.